Painting wooden furniture can be a great way to give it an updated look. However, before you start painting, it’s important to make sure that the wood is free of any sap or other debris. In this blog post, we’ll show you how to remove sap from wood before painting so you can get the best results!
Prepare the Wood Surface
Before you can remove sap from your wood deck boards, you have to prepare the surface. Make sure to inspect the deck and remove any debris. Sweep up dirt, leaves, and other material that has accumulated on the deck. Then, use a pressure washer to get rid of any remaining dirt. Make sure to use low pressure and avoid getting too close to the wood surface. Once you have finished cleaning, you can proceed with removing sap from the wood.
Clean the Wood
Now that you have prepared your wood surface, it’s time to clean it. Before you start scraping off sap, it’s best to get rid of any dirt and debris that may be coating the wood. Sweep the surface of the wood to remove any loose dirt, and then use a cloth or sponge and some warm water to wipe away any remaining dirt or grime. If your wood has a coating of paint, use a mild detergent to remove any dirt or stains. Once the surface is cleaned, allow it to dry before moving on to the next step in your sap removal process.
Scrape Off Sap
Once the surface of the wood is prepared, it’s time to scrape off as much of the dried sap as possible. Using a scraper or putty knife, carefully scrape away the sap without damaging the surface of the wood. Make sure to wear protective gloves and goggles when using a tool like this since particles can fly off and cause injury to your eyes or skin. Once you’ve removed as much sap as you can, it’s time to move on to the next step.
Apply Heat To Soften Sap
Before applying heat, it is important to make sure the wood surface is properly prepared. Make sure to fill any cracks that may be present and sand the surface smooth. This will help to ensure that the heat does not damage the wood. Once the surface is prepared, you can then use a heat gun or a blow dryer to soften the sap and make it easier to scrape off. Be sure to use caution when applying heat, as too much heat can cause damage to the wood. When finished, allow the wood to cool before proceeding with the next step.
Remove Sap with Solvent

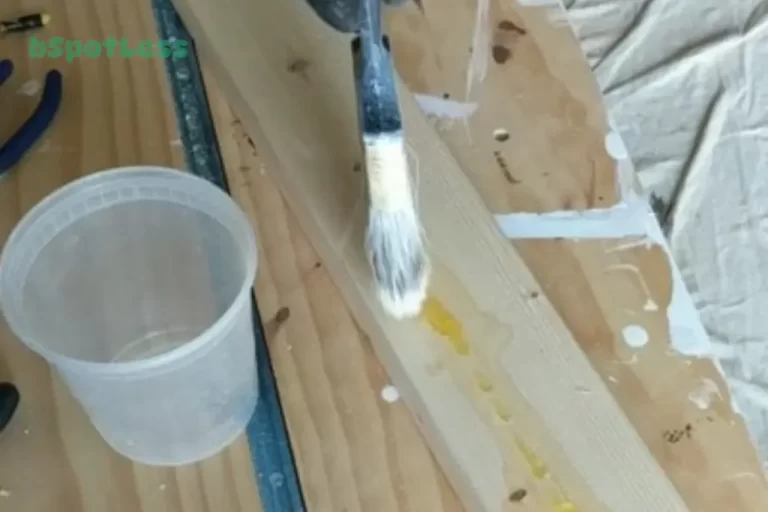
Before you can use a solvent to remove sap from wood, you need to make sure the wood is thoroughly cleaned. Use a cloth and some warm soapy water to remove any dirt and debris. Once the wood is clean, you can move on to removing the sap with a solvent. Acetone, turpentine, and Polyprep 875-104 are all effective solvents that can be used to dissolve sap on wood. Gently apply the solvent to the area and let it sit for a few minutes. This will help soften and loosen the sap so it can be scraped away. Use a soft cloth or brush to scrub away any remaining residue. Wipe away any excess solvent before moving on to the next step.
Sand Away Residue
After you’ve removed the sap with a solvent, it’s important to sand away any remaining residue. To do this, use fine-grit sandpaper, and gently sand the area until the surface is smooth. Be sure to wear a face mask and safety glasses to protect yourself from wood dust. Once you’ve finished sanding, wipe away any excess dust with a damp cloth. After your wood is completely clean and free of sap, you can prime and paint the surface as desired.
Wipe Away Excess Solvent
Once you have removed the sap with a solvent, it is important to wipe away any excess solvent. This will help ensure that the surface of the wood is not affected by the solvent and that it is ready for the primer and paint. If there are any areas of sap still remaining, use a rag cloth to scrub them off using a circular motion. Once the surface of the wood is completely dry, you can apply your primer and paint as desired.
Apply Primer and Paint
Once you have thoroughly prepped the wood, cleaned and scraped it, and removed the sap with a solvent, it is finally time to apply primer and paint. Make sure you use a high-quality primer and paint that are designed to adhere to wood surfaces. It is important to apply multiple coats of paint to ensure that it will be durable and last for years. Once the paint is dry, be sure to protect the wood from future damage by regularly cleaning and caring for it.
Protect the Wood from Future Damage
Once the sap has been removed, you must protect the wood from future damage. To do this, apply a protective sealer or stain to the wood. This will help to protect it from UV rays, moisture and other environmental factors. Additionally, regularly cleaning and treating the wood with a wood cleaner can help to prevent the accumulation of sap. If you follow these steps, you can ensure that your wood looks great and is well-protected for years to come.
Maintain Regular Cleaning and Care
Once the sap has been removed, you must maintain regular cleaning and care of the wood surface in order to protect it from further damage. Regular cleaning is essential for removing dirt and debris that can accumulate over time and compromise your paint job. Additionally, you should apply a sealant or protective coating to the wood to help protect it from moisture and sunlight, which can cause further damage. Taking the time to clean and maintain your wood deck is an important part of protecting the wood from future damage and keeping your paint job looking its best.

