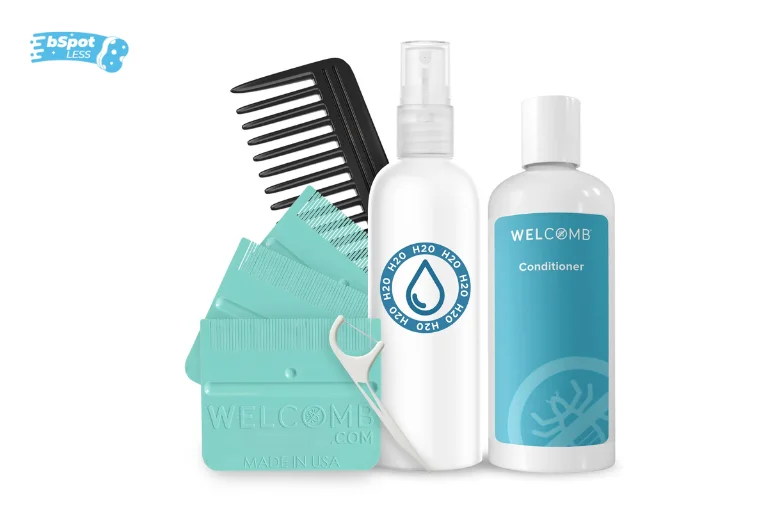
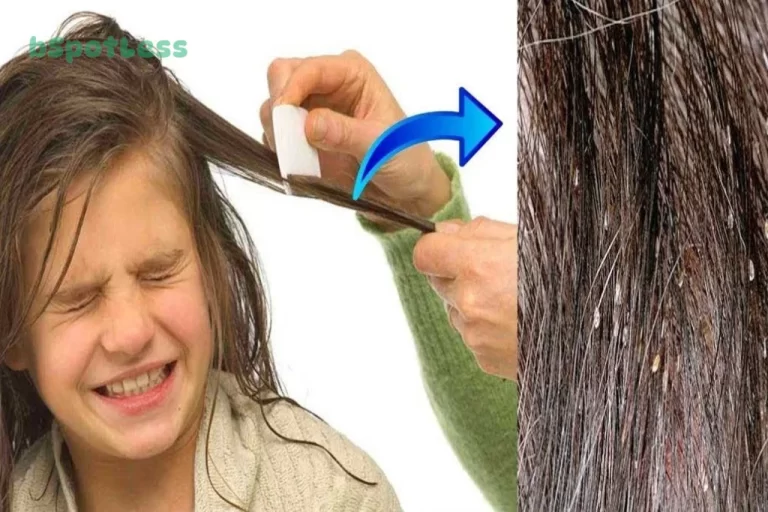
Are you trying to remove lice or nits from your hair but don’t want to use a comb? It can be daunting, but with the right knowledge, it’s possible. In this blog post, we’ll go over how to remove nits from hair without a comb and provide some tips for preventing future infestations.
What are Nits?
Before you can start treating nits, it’s important to know what they are. Nits are lice eggs, cemented to strands of hair about 1/4-inch from the scalp. Female lice cement eggs to strands of hair and without adult lice, egg laying cannot take place. Nits are a yellowish-white color and can be found near the scalp or at the base of the hair shaft. They can be difficult to spot with the naked eye, so it’s important to use a lice comb to help locate them.
Check for Nits
It is important to check for nits before beginning a nit-removal process. Nits are small, white eggs that are cemented to the hair shaft. They can be found close to the scalp, and they are usually found in clusters. To make sure that all of the nits are removed, it is important to identify any areas of the scalp where they may be present. Once identified, the nit removal process can begin.
Choose a Nit-Removing Product
Choosing the right product to remove nits is essential. A prescription shampoo is often recommended, as it has been proven to be more effective than over-the-counter products. It is important to follow the instructions on the product label carefully. Generally, this means applying the shampoo to dry hair, waiting ten minutes, adding water and working into a lather, and then rinsing. It may be necessary to repeat the process seven to ten days later to kill any remaining bugs.
Apply the Product Properly

Once you have chosen a nit-removing product, it is important to apply it properly. Start by applying the product to dry hair and make sure it is evenly distributed. Make sure to pay special attention to areas around the scalp and nape of the neck. After the product is applied, cover your head with a shower cap and leave on for the recommended amount of time, usually 10-15 minutes. After the product has had time to work, rinse your hair thoroughly and blow dry. Finally, check for any remaining nits and comb through with a nit comb.
Cover Hair with a Shower Cap
Once you’ve applied the nit-removing product to your hair, it’s important to cover your hair with a shower cap. This will help keep the product on your head and in contact with the nits. Leave the shower cap on for the amount of time recommended on the product’s packaging. This could be anywhere from 10 minutes to several hours. At the end of the recommended time, remove the shower cap and proceed to rinse your hair thoroughly.
Let Product Sit for the Recommended Amount of Time
Once you have applied the product to your hair, it is important to allow it to sit for the recommended amount of time. This will allow the product to penetrate the scalp and kill the lice and nits. Depending on the product you use, this can range from 10 minutes to an hour or more. Make sure you read the instructions carefully and follow them closely. After the product has been allowed to sit, you should then rinse it out thoroughly with warm water.
Rinse Hair Thoroughly
After letting the product sit for the recommended amount of time, it is important to rinse the hair thoroughly. This will help to ensure all residue from the product is removed and that no nits are left behind. Make sure to use warm water, as it will help to remove any stubborn nits and ensure that no product residue remains. After rinsing, it is important to blow dry the hair. This will help to dry the hair and make it easier to spot any remaining nits.
Blow Dry Hair and Check for Remaining Nits
After you’ve rinsed your hair thoroughly, you can blow dry it and check for remaining nits. If you still find nits, you may need to repeat the process. However, you don’t need to use a comb to remove nits in between washings. Instead, you can use a special nit-removing product as a follow-up if necessary.
Comb Through Hair with a Nit Comb
Once you’ve applied the product and let it sit for the recommended amount of time, rinse your hair thoroughly. Blow dry your hair and check for any nits that may still remain. Finally, to finish the job, use a nit comb to comb through your hair and remove any remaining nits. Nit combs have very fine teeth that can help to remove nits from each strand of hair. Be sure to comb from the scalp, working outwards. Be thorough as you comb through your hair, as nits can be hard to spot with the naked eye. After you’ve finished combing through your hair, you may want to check again for any remaining nits and repeat the process once more if necessary.
Repeat as Necessary
Once you have used a nit comb to remove nits, it is important to repeat the process seven to 10 days later, in case there are any remaining bugs. This will help ensure that any eggs or lice that you may have missed are taken care of. It is also important to use the same product again to make sure that all of the lice and eggs are killed. To be thorough, you should also check your child’s hair for lice and nits every day until the problem is resolved.

