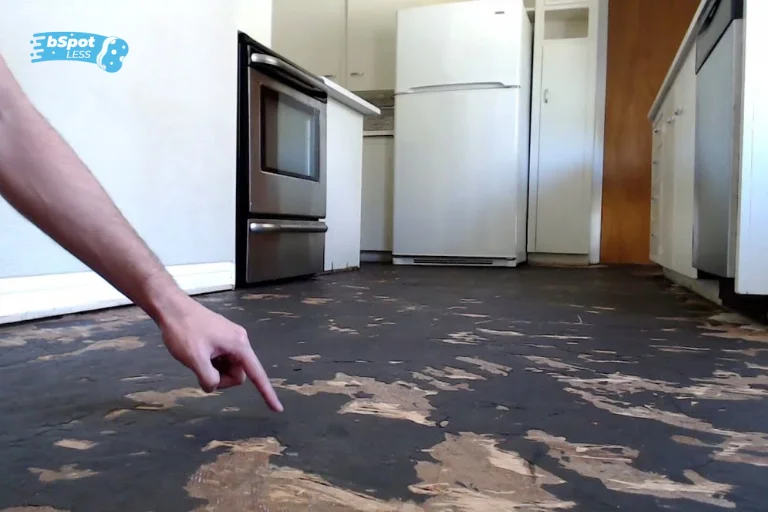
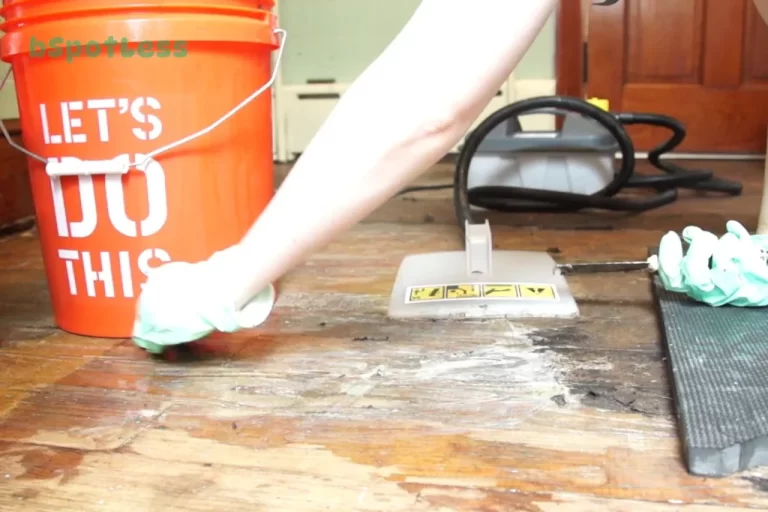
Removing black mastic from wood floors can be a difficult and time consuming job. But with the right tools and techniques, you can get your wood flooring looking like new again in no time. In this blog post, we’ll provide you with step-by-step instructions on how to remove black mastic from wood floors quickly and easily.
Gather Your Supplies
Before you can properly remove black mastic from your wood floor, you’ll need to gather the right supplies. The supplies you’ll need will depend on the type of mastic you’re dealing with. If you’re dealing with an asbestos/black mastic, you’ll need hot water, vinegar or citrus degreaser, and a brush. For vinyl or acrylic mastic, you’ll need Mastic & Adhesive Remover for Concrete Surfaces and a brush. For mold, you’ll need a mold removal product or a mixture of bleach and water. Lastly, for all types of mastic, you’ll want to have a vacuum and an appropriate sealer on hand. Once you have gathered all the necessary supplies, you’re ready to begin the removal process.
Prepare the Area
Once you have gathered the necessary supplies, it’s time to prepare the area for mastic removal. If you are dealing with old, black mastic that may contain asbestos, keep it wet at all times to prevent dangerous dust particles. Use hot water and mix it with vinegar or citrus degreaser for extra strength. If you plan on using a chemical remover, such as Klean Strip Green Floor Adhesive Remover, read the instructions carefully to ensure that it is appropriate for wood surfaces. Pour the remover and let it sit for 1 hour, or until the mastic softens. For asbestos/black mastics, this generally takes 1-2 hours, while vinyl or acrylic mastics may take 4-8 hours. Once the mastic is softened, you can begin to scrape it away.
Scrape Away the Mastic

After you’ve thoroughly soaked the mastic, it’s time to start scraping. It’s important to use a sharp tool that won’t damage your wood flooring, such as a putty knife or razor blade. Gently scrape away the mastic and discard it into a trash can. Keep in mind that old, black mastic may contain asbestos, so keep the area wet to prevent the release of any dangerous dust. Make sure to scrape away as much of the mastic as possible before moving on to the next step.
Scrub the Mastic with a Brush
Once the mastic has been scraped away, it is important to scrub the area with a brush. This will help to remove any remaining residue. A stiff-bristled brush, such as a scrub brush, is best for this job. To further remove the mastic, you may also want to use a mixture of hot water and vinegar or citrus degreaser. Be sure to keep the area wet while you are scrubbing to prevent dangerous dust from forming.
Apply a Chemical Remover
Once you have finished scraping away the mastic, it is time to apply a chemical remover to the area. Klean Strip Green Floor Adhesive Remover is a great choice for removing most mastics, water-based floor adhesives and latex adhesives. Be sure to read the instructions carefully before applying it, and do not allow the remover to completely dry on the wood. For asbestos/black mastics, allow the remover to sit for 1-2 hours while other mastics may take 4-8 hours. For concrete surfaces, you can use Mastic & Adhesive Remover but not on wood.
Rinse the Area
Once the mastic has been softened, it’s time to rinse the area in order to remove any residue. Use a clean cloth dampened with warm water and gently scrub the area. Be sure to rinse the cloth often to ensure all of the mastic is removed. Once the area has been rinsed, allow it to completely dry before proceeding.
Sand the Wood Flooring
After you have applied the chemical mastic remover, it is important to sand the wood flooring to remove any remaining residue and smooth out the surface. Sanding is also necessary to remove any staining. You will want to use a medium grit sandpaper and a sanding block for this process. Start in one corner and work your way across the floor until the entire area has been sanded. Be sure to clean up any dust that accumulates during this process.
Vacuum the Area
Now that the black mastic has been removed from the wood floor, it’s time to vacuum the area. Vacuuming will remove any remaining debris from the floor and help to prepare the surface for sealing. Be sure to use a strong vacuum with a good filter to prevent dust from spreading throughout your home. Once the area is vacuumed, you’re ready to move on to the next step.
Apply an Appropriate Sealer
Once the mastic has been properly removed, it’s time to apply an appropriate sealer to the wood flooring. This will help protect the wood from spills and other contaminants. When selecting a sealer, make sure it is designed for wood floors and is suitable for the type of wood you have installed. Take care to follow the manufacturer’s instructions when applying the sealer to ensure it is applied correctly and properly sealed. After the sealer has been applied, allow it to fully dry before polishing the wood flooring.
Polish the Wood Floor
Once the area is free from mastic and all chemicals, it’s time to make sure the wood floor looks its best. To do this, you’ll want to polish the wood floor. This will help enhance the natural beauty of the wood and protect it from further damage. You can find many types of polish at your local hardware store, so make sure to read the instructions carefully before applying. Apply the polish in small sections and allow it to dry between coats. Once the polish is completely dry, you can use a soft cloth to buff the area and bring out an even shine.

