Are you trying to replace your thermocouple but don’t know where to start? If so, then this blog post is perfect for you. In this article, we’ll be discussing the steps on how to remove a thermocouple from a gas water heater. We’ll also provide some helpful tips and tricks so that you can successfully complete the job!
Check the Gas Shutoff Valve
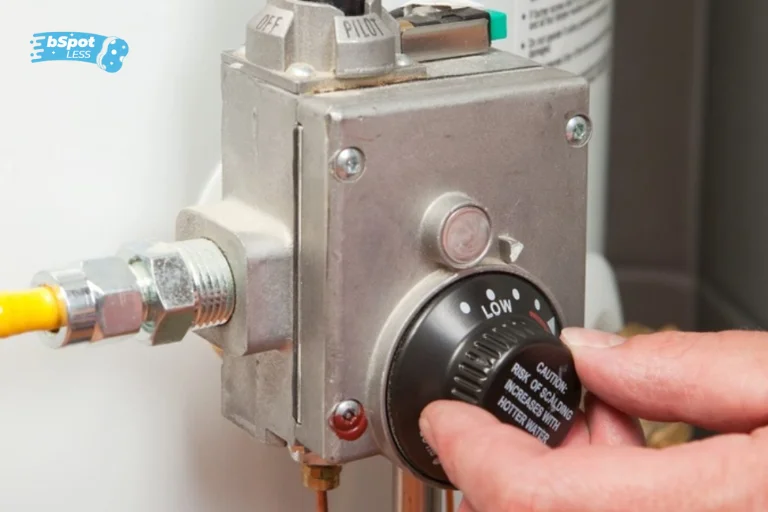
Replacing the thermocouple on a gas water heater is a task that requires safety and caution. Before beginning the process, it is essential to check the gas shutoff valve. This valve is usually located near the bottom of the water heater and should be turned off before any work begins. Once this is done, it is important to turn off the power to the water heater to avoid any potential shocks. After these two steps have been completed, you can then begin to locate and remove the thermocouple.
Turn Off the Power to the Water Heater
Before attempting to remove the thermocouple from your gas water heater, it is important to ensure the power to the water heater is shut off. This can often be done by simply flipping a switch on the wall or shutting off the circuit breaker. Once the power is off, you can proceed to locate and remove the thermocouple from your water heater.
Locate the Thermocouple
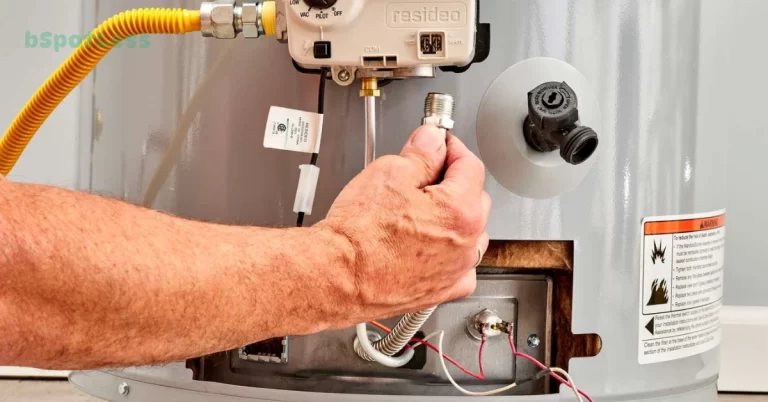
If you have successfully shut off the gas and power to the water heater, the next step is to locate the thermocouple. The thermocouple is usually located at the gas control valve and is connected to the pilot tube. You will need to remove the burner assembly to access the thermocouple. Once you have identified the thermocouple, make sure to note how it is routed so you can easily replace it.
Cut the Pilot Tube
After locating your thermocouple, the next step is to cut the pilot tube. Make sure you wear safety gloves and goggles for this step. To cut the pilot tube, use a pipe cutter or hack saw to carefully cut it from the control valve. Once you have successfully cut the pilot tube, proceed to the next step of disconnecting it from the control valve.
Disconnect the Pilot Tube from the Control Valve
Once the thermocouple nut is off, the pilot tube can be disconnected from the gas control valve. To do this, use an adjustable wrench to loosen the nut connecting the pilot tube to the valve. When that nut is loose, you can unscrew the pilot tube by hand and remove it from the valve. Make sure not to lose any of the parts that have been removed so they can be reassembled when you install the new thermocouple.
Remove the Thermocouple Nut
Once the pilot tube has been cut and disconnected from the control valve, the next step is to remove the thermocouple nut. This nut is located on the gas control valve, and it is used to hold the thermocouple in place. To remove this nut, use a pair of pliers or a wrench to loosen it. Once the nut has been removed, the old thermocouple can be unscrewed and replaced with a new one.
Unscrew the Old Thermocouple
After the burner assembly is removed, the next step is to unscrew the old thermocouple. This is done by unscrewing the thermocouple nut, located at the end of the thermocouple. Use pliers or a wrench to gently loosen the nut and then remove the thermocouple from its mounting. Make sure to support the thermocouple while unscrewing it, as it may be hot and delicate. Once the old thermocouple is removed, you can discard it.
Replace with a New Thermocouple
Now that you have removed the old thermocouple, it’s time to replace it with a new one. Make sure that you purchase the correct size and type of thermocouple for your water heater. You’ll need to unscrew the new thermocouple and thread it into the gas control valve. The end of the thermocouple should be pointing downward. Once you have it in place, tighten the nut to secure it.
Secure the New Thermocouple
Once the old thermocouple has been unscrewed and removed, you are ready to install the new one. Make sure that the new thermocouple is securely fastened in place. Use a wrench to tighten the nut until it is snug. Make sure that the thermocouple is correctly positioned before securing it in place. Once the thermocouple is in place, make sure to test the connection with a multimeter to ensure that it is properly connected. Once the thermocouple has been secured, you are now ready to reattach the pilot tube and control valve.
Reattach the Pilot Tube and Control Valve
Once the new thermocouple has been secured in place, it is time to reattach the pilot tube and control valve. Begin by tightening the control valve onto the pilot tube. Make sure it is securely tightened. Then, reconnect the pilot tube to the control valve. Make sure the connection is tight and secure. Finally, reattach the gas shutoff valve to the gas supply line. Turn on the gas supply and check for any leaks before turning on the power to the water heater.