If you are looking for a way to upgrade your kitchen faucet, but don’t know how to remove the handle, look no further. In this blog post, we will show you step-by-step instructions on how to remove a Moen kitchen faucet handle. You’ll soon be enjoying your new faucet in no time!
Gather the Necessary Tools
If you’re ready to get started, the first step is to gather the necessary tools. You’ll need a 3/32″ hex wrench to loosen the handle screw, a Moen 118305 Collection Replacement Kitchen Faucet Installation Tool, a Moen 14272 Cartridge Retainer Removal Tool for 2 Handle Cartridges, and a flat-head screwdriver. Additionally, you may want to have a rag and some rags on hand to dry off the pipes before you begin.
Turn Off the Water Supply
Before you start to remove your Moen kitchen faucet handle, it is important to shut off the water supply to your faucet. This will ensure that you do not have any unexpected leaks or floodings during the repair process. To do this, simply turn the shutoff valves beneath your sink clockwise until they are completely closed.
Remove the Index Plate
Once the handle has been successfully removed, the next step is removing the index plate. This is a circular plate which is located at the base of the handle. To remove the index plate, pop it off with your fingers or use a flat-head screwdriver. Once the plate is removed, it will be possible to access the cartridge retainer clip.
Unscrew the Handle Screw
Now that the handle has been removed, you can begin to unscrew the handle screw. To do this, you’ll need a 3/32” hex wrench. Once the screw has been loosened, you can lift off the handle.
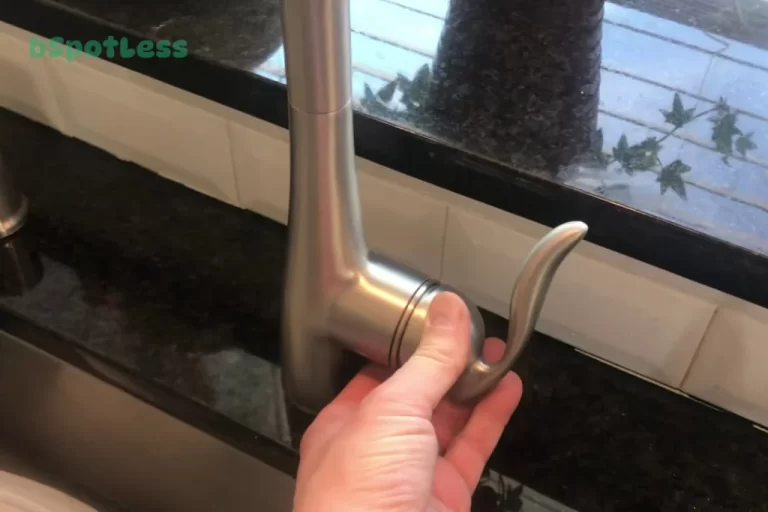
Lift Off the Handle
Once the handle screw is loosened, you can lift off the handle. If your Moen kitchen faucet has a handle that removes by loosening the screw in the back of the handle, use a 3/32″ hex wrench to loosen it. Carefully remove the handle and set it aside for later reassembly.
Remove the Cartridge Retainer Clip

Once the handle screw has been removed and the handle lifted off, you should be able to see a cartridge retainer clip. This clip needs to be removed in order to gain access to the cartridge assembly. To remove the clip, use a Moen 14272 cartridge retainer removal tool or a flathead screwdriver. Gently pry up on the clip until it comes off. Be sure not to damage it as you may need to reuse it when reinstalling the faucet handle.
Pull Out the Cartridge Assembly
After unscrewing the handle screw, you can lift off the handle. Underneath the handle, there may be a cartridge retainer clip. This clip needs to be removed in order to access the cartridge assembly underneath it. After removing the retainer clip, you can then pull out the cartridge assembly.
Install a New O-Ring and Cartridge Assembly
Once the O-ring and cartridge assembly are removed, it’s time to install a new one. To do this, start by greasing the O-ring with the plumber’s grease, then slide the cartridge into the faucet body. After that, carefully slide the retainer clip over the top of the cartridge, ensuring that it is securely in place. Finally, reinstall the handle and index plate and secure them with their respective screws.
Reassemble the Faucet Handle and Index Plate
Once the cartridge assembly has been replaced, the Moen kitchen faucet handle can be reassembled. Start the reassembly process by replacing the index plate. This can be done by pressing the index plate back into place. Make sure to align the slots on the index plate with the screws on the faucet handle. Once the index plate is in place, replace the handle screw and tighten it with a 3/32″ hex wrench. Once the handle screw is tight, replace the cap and press it down firmly to ensure a good seal. Finally, turn on the water supply and check for any leaks around the faucet handle. If there are no leaks, your Moen kitchen faucet should be working properly again.
Turn On the Water Supply
After reassembling the faucet handle and index plate, the last step is to turn on the water supply. Make sure all connections are secure before turning the water back on. Starting with the cold water, turn the valve slowly to let the water come in gradually. Once the water is flowing normally, turn on the hot water valve and allow it to come up to temperature. Check all connections again and make sure there are no leaks. Once everything is secure, you can use your Moen kitchen faucet as normal.