Are you tired of looking at your popcorn ceiling? Do you want to give your home an upgrade without taking on a major renovation project? Don’t worry, we’ve got you covered! In this blog post, we’ll be discussing how long it takes to remove popcorn ceiling and the steps involved in the process.
Prepare the Room
Before you begin to prepare the room for popcorn removal, it is important to test the ceiling for asbestos. It is important to take proper safety precautions when dealing with asbestos, such as wearing a mask and gloves. After you have tested the ceiling, you can then begin to prepare the room. This includes removing furniture, fixtures and window coverings. The next step is to cover the floor with a drop cloth and tarp the walls. This will help to protect them from any dust or debris that may come off of the ceiling during the popcorn removal process.
Test the Ceiling for Asbestos
Before proceeding with the project, it is important to determine if the popcorn ceiling contains asbestos. If it does, it is recommended to hire a professional contractor to safely remove the material. If the ceiling tests positive for asbestos, it will be necessary to take all precautions as far as workplace safety, testing the surface for asbestos, and using personal protective equipment.
Remove the Popcorn Texture
Once you’ve tested the ceiling for asbestos, it’s time to remove the popcorn texture. This is a labor-intensive job, and professional removal can take up to 20 hours for 500-600 square foot ceilings. DIYers may take longer as they may not have the same experience or access to the same tools that professionals have. If you choose to do it yourself, make sure you wear protective gear and follow all safety protocols.
Clean the Ceiling
After the popcorn texture has been removed, the next step is to clean the ceiling. This is important to ensure that all of the particles and dust have been removed and to prepare the surface for painting. It’s also important to make sure that all of the texture has been completely removed. Once the surface is clean and free of debris, it’s ready for priming.
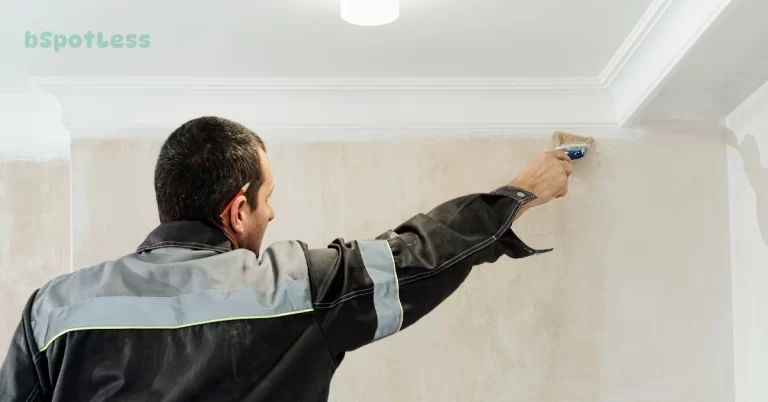
Apply a Primer
Once you have tested the ceiling for asbestos and removed the popcorn texture, it’s time to apply a primer. This is an important step that should not be skipped as it will help ensure a smooth finish, and provide the best base for your new paint. It should take about an hour to apply the primer, depending on how large the area is. Once the primer is applied, it should be allowed to dry completely before moving on to the next step.
Fill in Imperfections
After you have prepped and tested the ceiling, removed the popcorn texture, and applied a primer, the next step is to fill in any imperfections and sand the ceiling surface smooth. This is a critical step for ensuring a smooth, even finish on your new ceiling. You may need to use joint compound or spackle to fill in any holes or cracks that have been revealed after the popcorn texture has been removed. Once all of the imperfections have been filled in, use a sanding block or pole sander to make sure that the ceiling is as smooth as possible. When finished, use a damp cloth to remove any dust from the surface of the ceiling before continuing with the painting process.
Sand the Ceiling Smooth
After filling in any imperfections, the final step is to sand the ceiling smooth. This should be done carefully, using a fine-grit sandpaper to avoid damaging the ceiling surface. Sanding the ceiling will help to ensure that the paint adheres evenly and creates a smooth finish. It can also help to remove any remaining residue from the popcorn ceiling, giving you a clean, finished look.
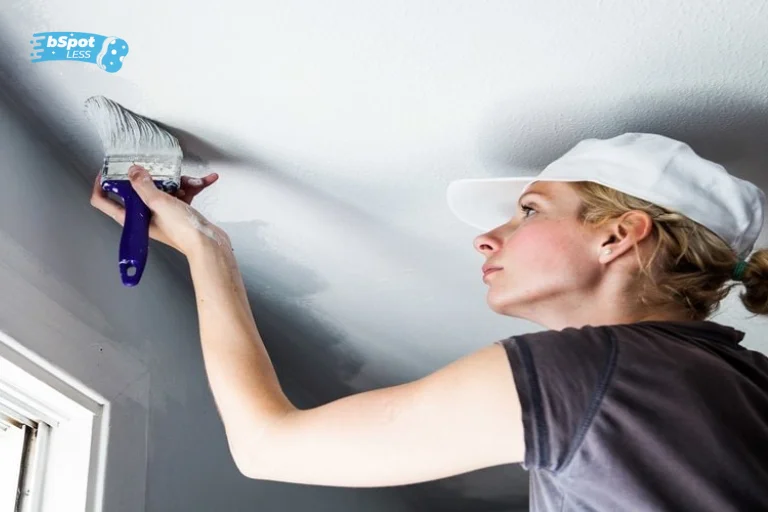
Paint the Ceiling
Once the ceiling is prepped and sanded, it’s time to paint. In order to ensure a flawless finish, use a flat paint and a long-napped roller. Depending on the type of finish you select, this may take up to 3 hours. After you’ve applied the paint, it’s time to replace any lighting fixtures that may have been removed.
Replace Lighting Fixtures
Once the popcorn ceiling is removed, replaced, and painted, it’s time to replace any light fixtures that had to be taken down during the popcorn removal process. This step is important as it ensures that your newly revamped ceiling is safe for lighting fixtures. You will want to make sure that any wiring is properly installed and that the fixtures are securely in place. Depending on the complexity of the project, replacing the light fixtures can take anywhere from a few hours to a full day.
Clean Up the Area
After the ceiling has been painted, the last step is to clean up the area. This typically requires vacuuming and wiping down the walls and floors, as well as removing any drop cloths or other materials used during the project. Professionals will also check for any missed spots or debris and make sure everything is clean and neat. Once the area is cleaned up, you’ll be able to enjoy your new ceiling.